Create A Project
To create a Project:
- Login to your Behance profile
- Click the Share Your Work button on the top of the Behance page and select Project
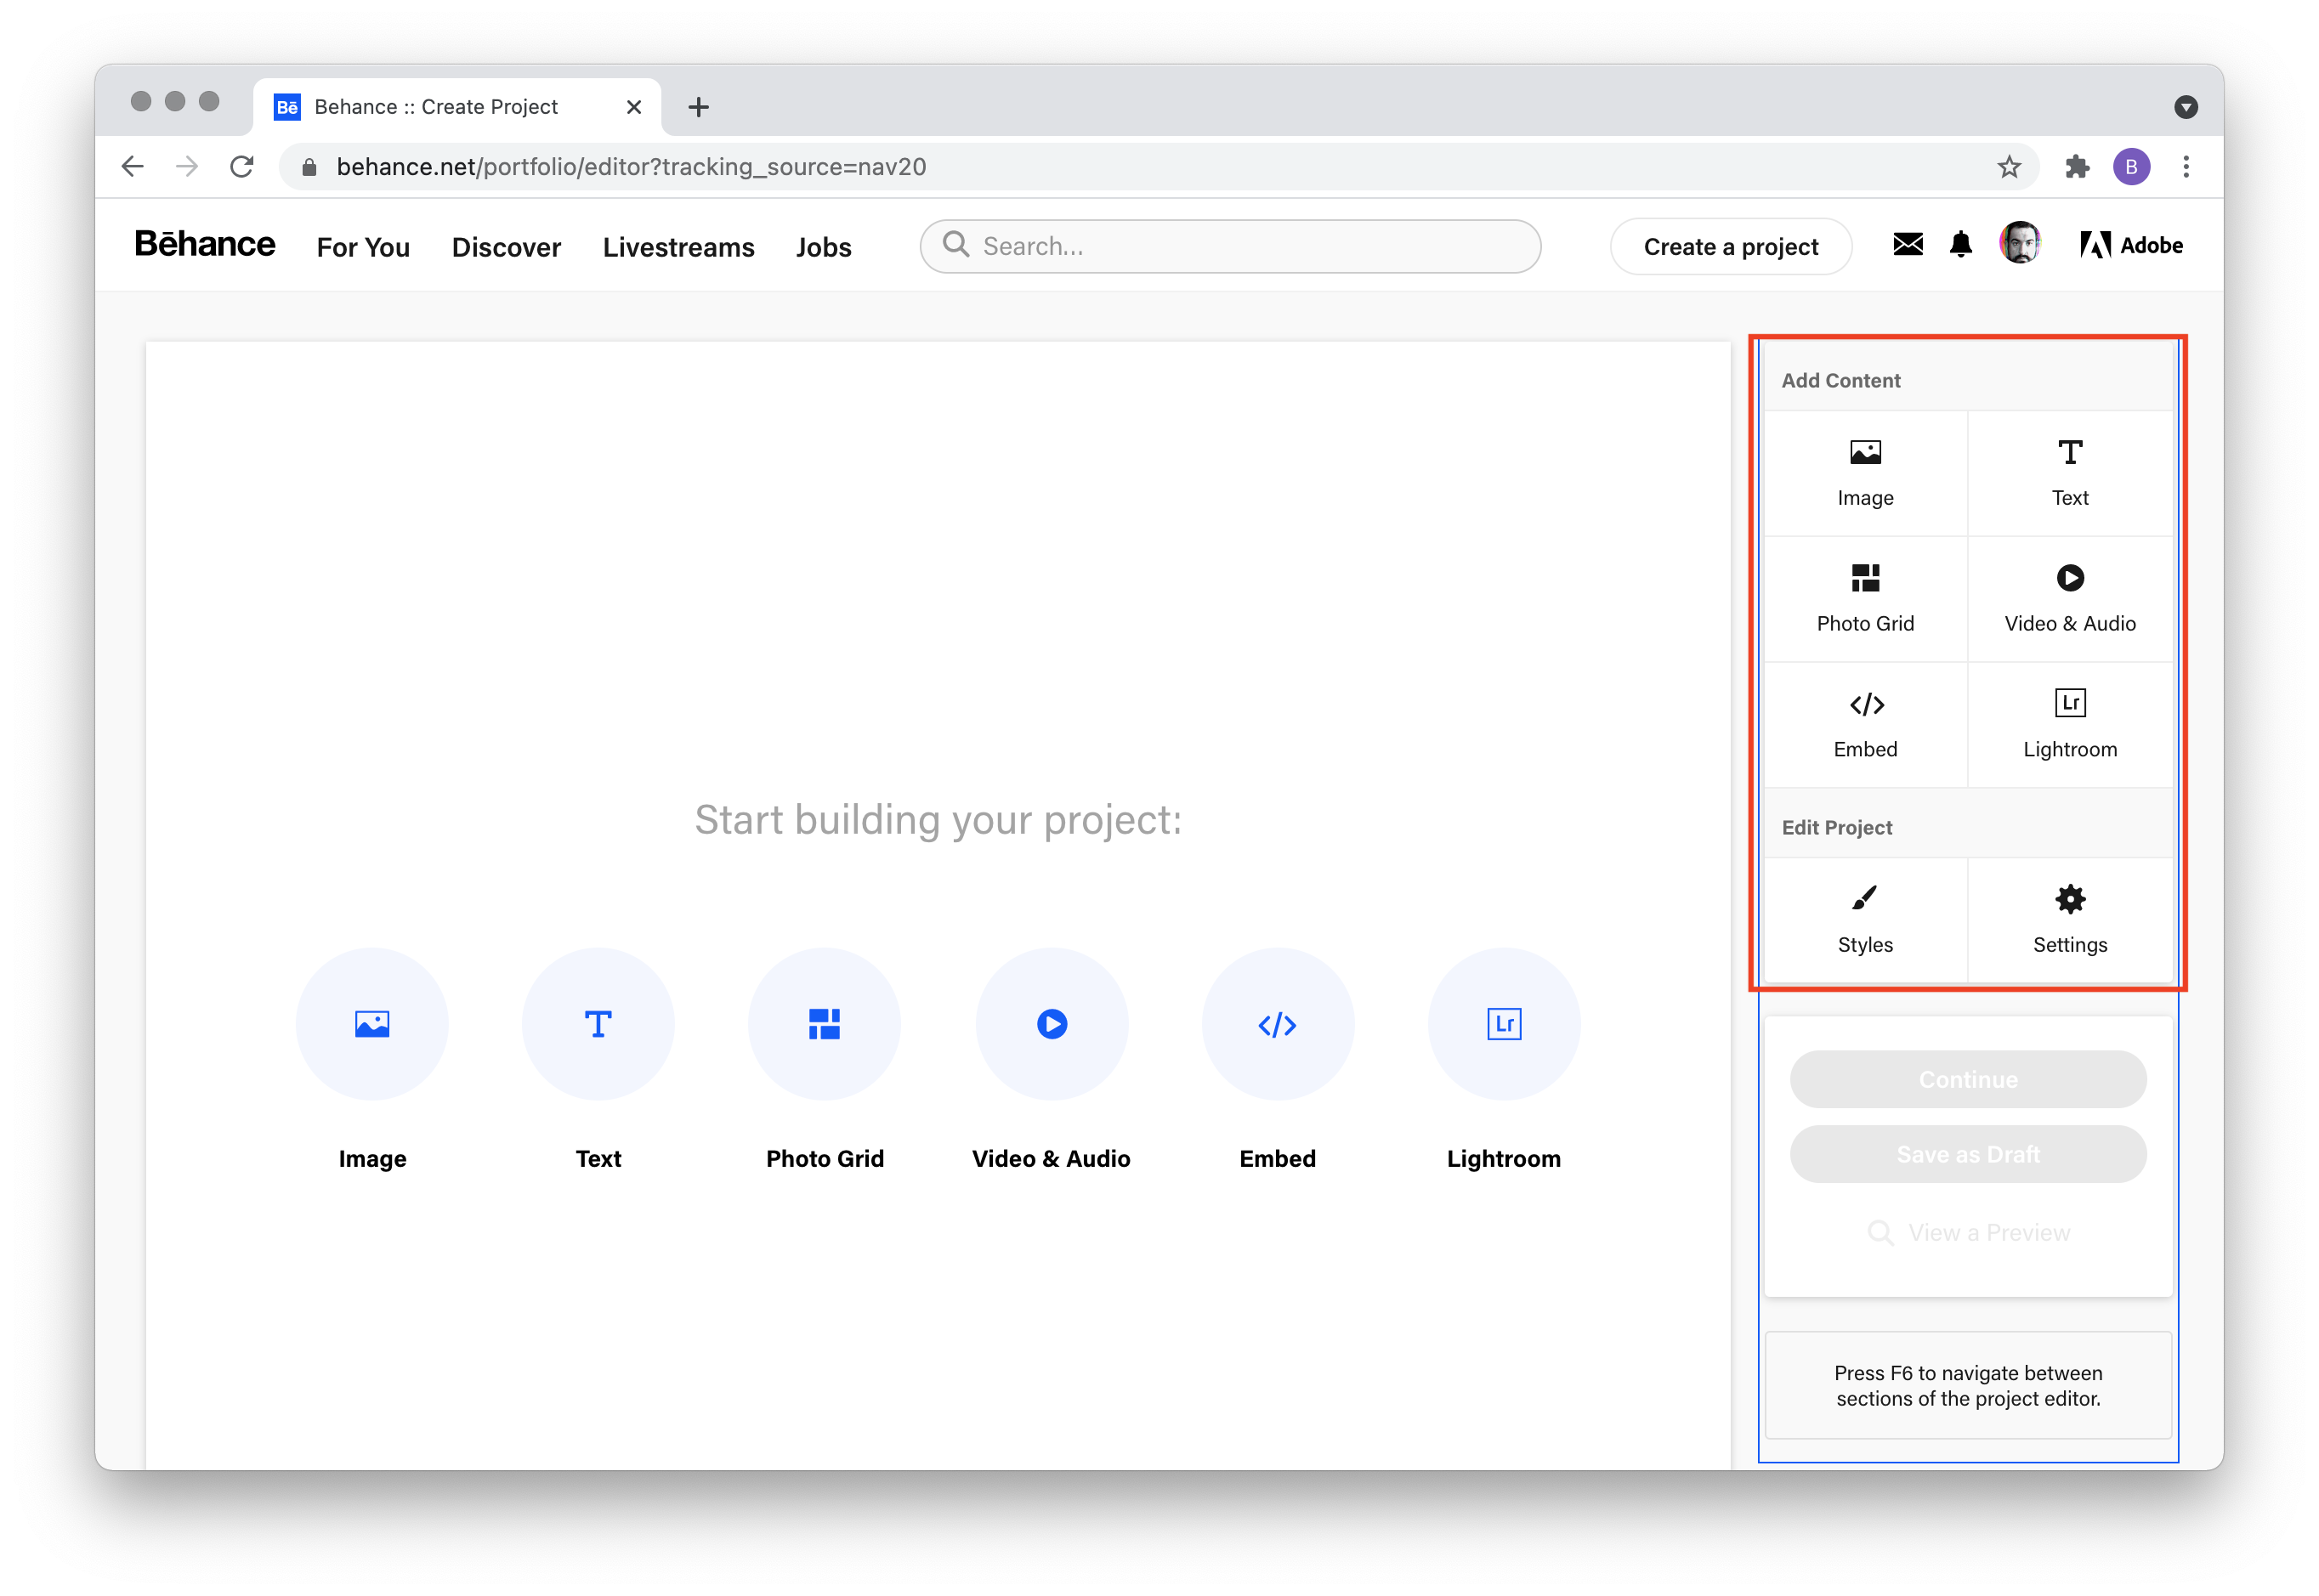
- Begin adding content. When you're done uploading your work, click Continue
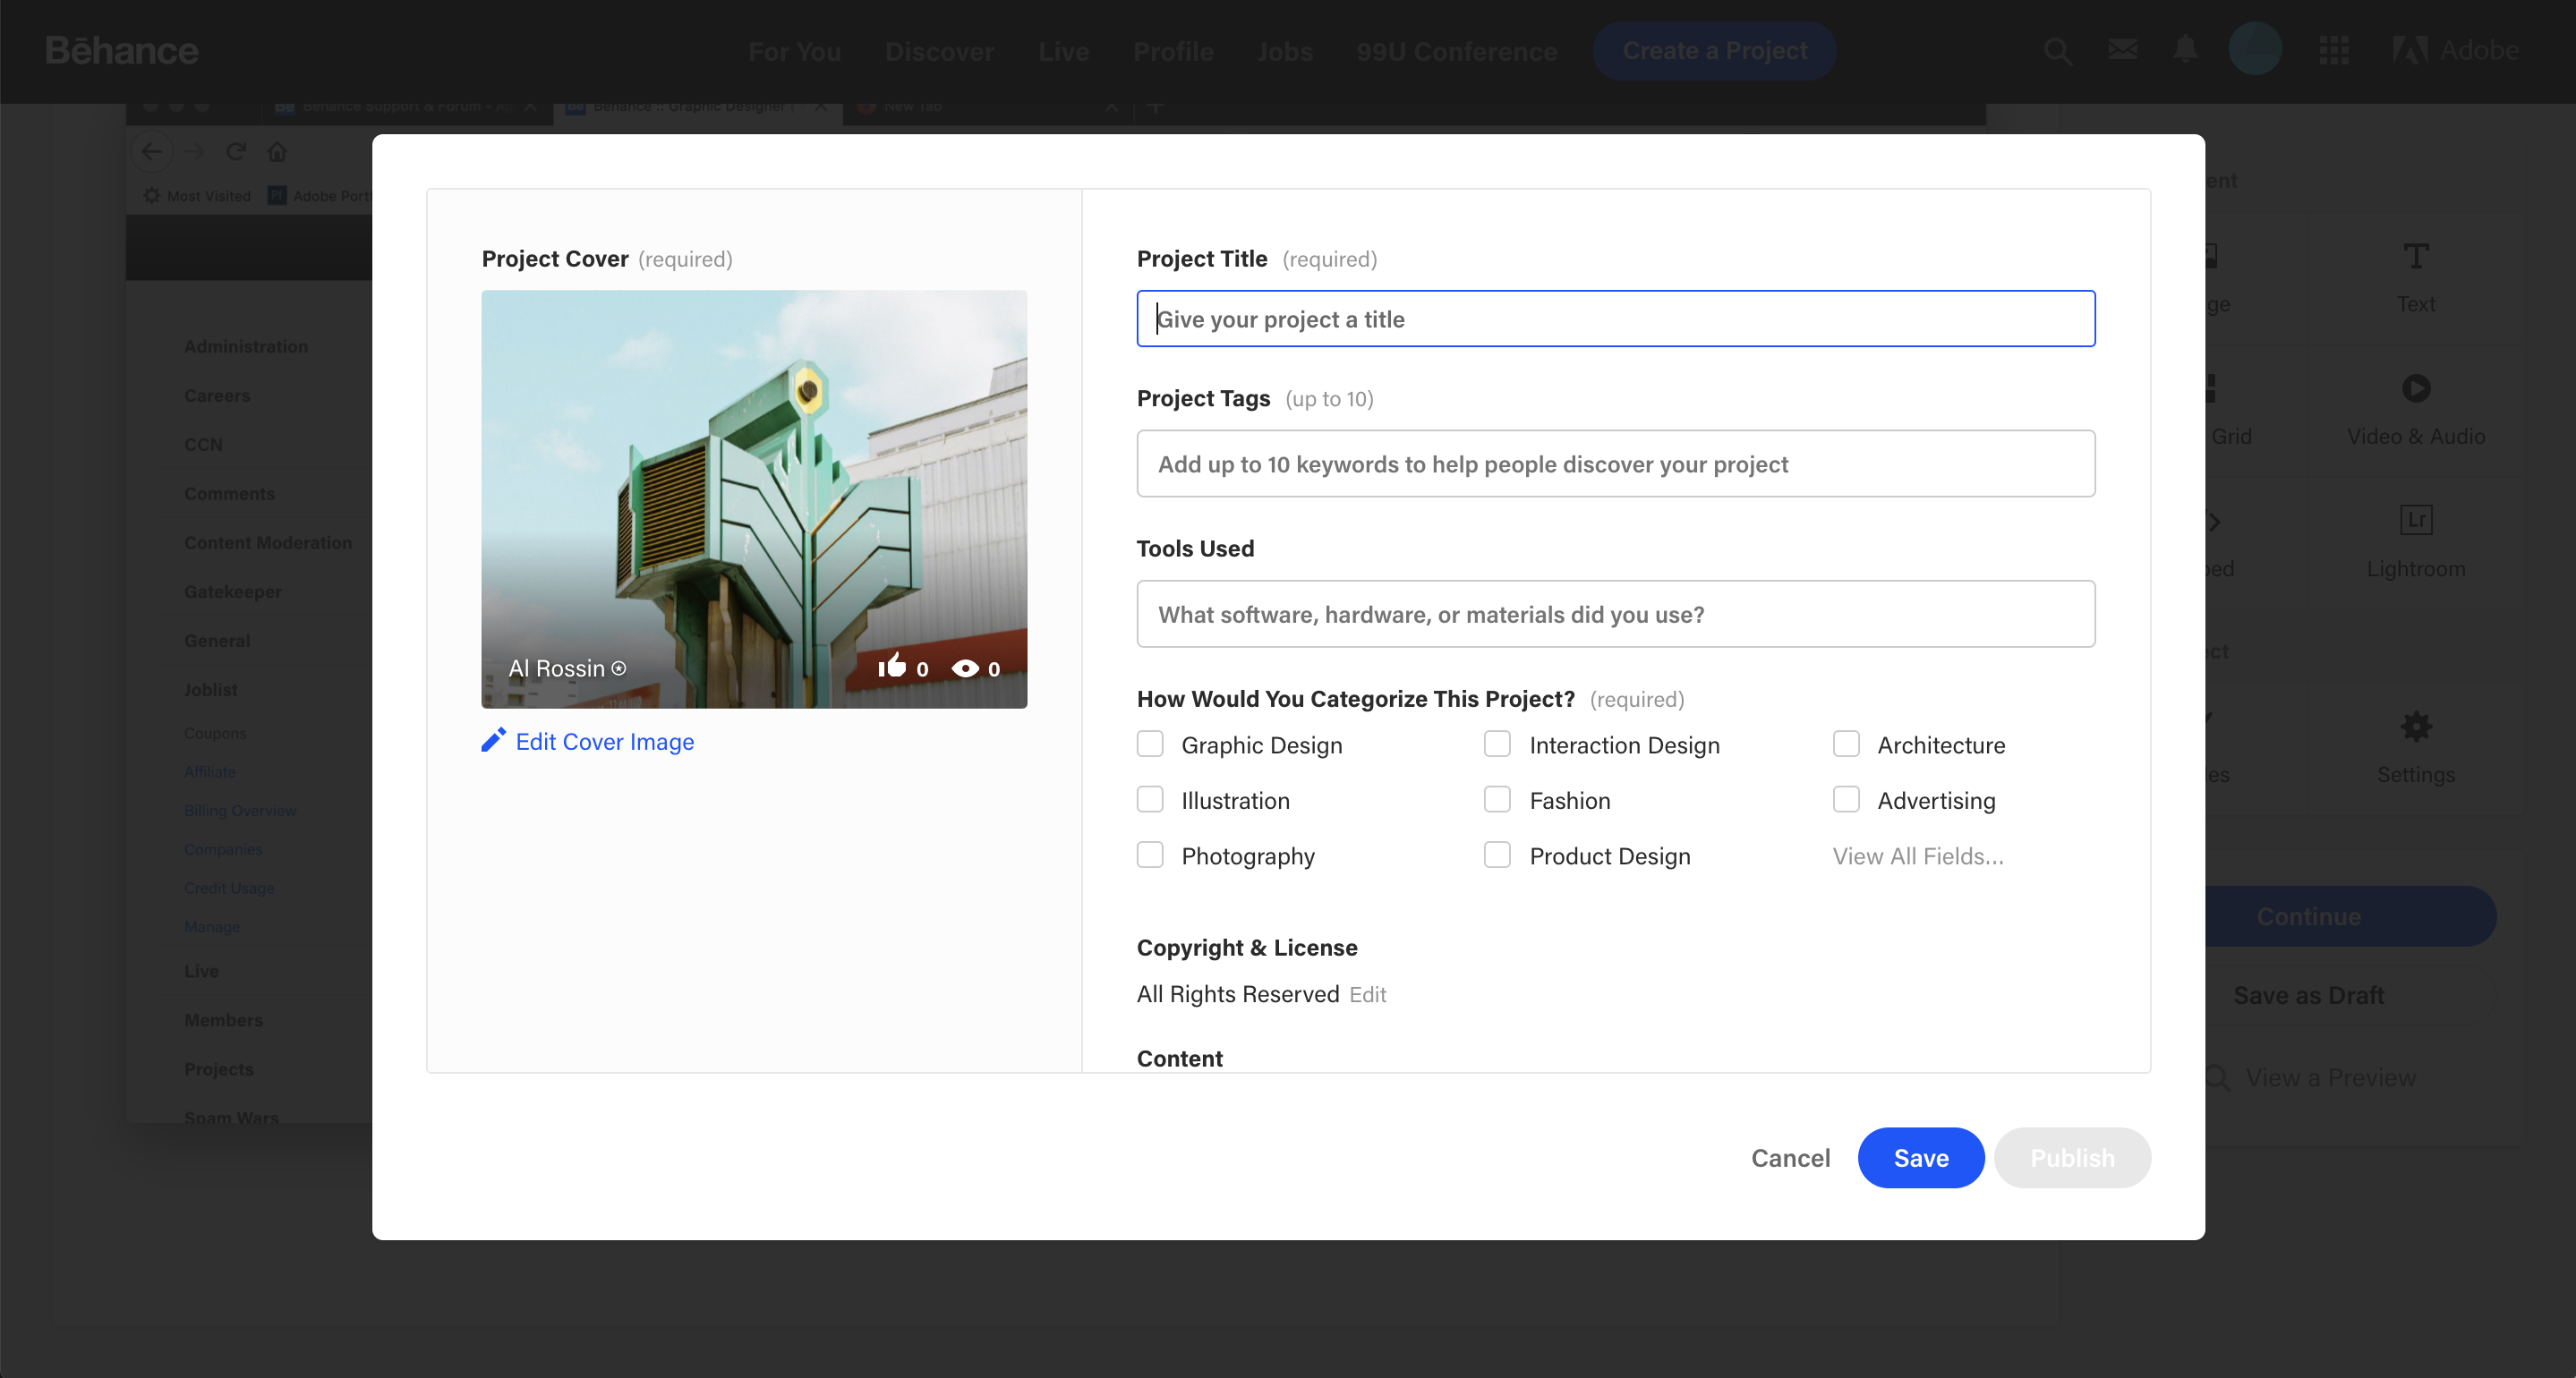
- Upload/Select a Cover Image, enter a Project Title, select a Creative Field and add Project Tags
- Click Save to save the project as a Draft or click Publish to publish your project live
*Note:
- Projects do not auto-save, so please remember to save your work from time to time
Add Content: use the Add Content box on the right-hand column to upload files, embed media, add text, or import from Lightroom. You can reorder content by hovering over an item in the Project Canvas, clicking the blue Edit icon, selecting "Reorder" and then clicking and dragging the content into the order you prefer. Then, click the green Continue button or Settings to proceed to the next step.

Project Settings: To publish a Project, you'll need to select a Cover Image, Project Title, and Creative Fields. We also suggest adding Project Tags and the Tools Used, but they are not required. From this page, you can also edit your Copyright & License settings and mark your work as containing Adult Content

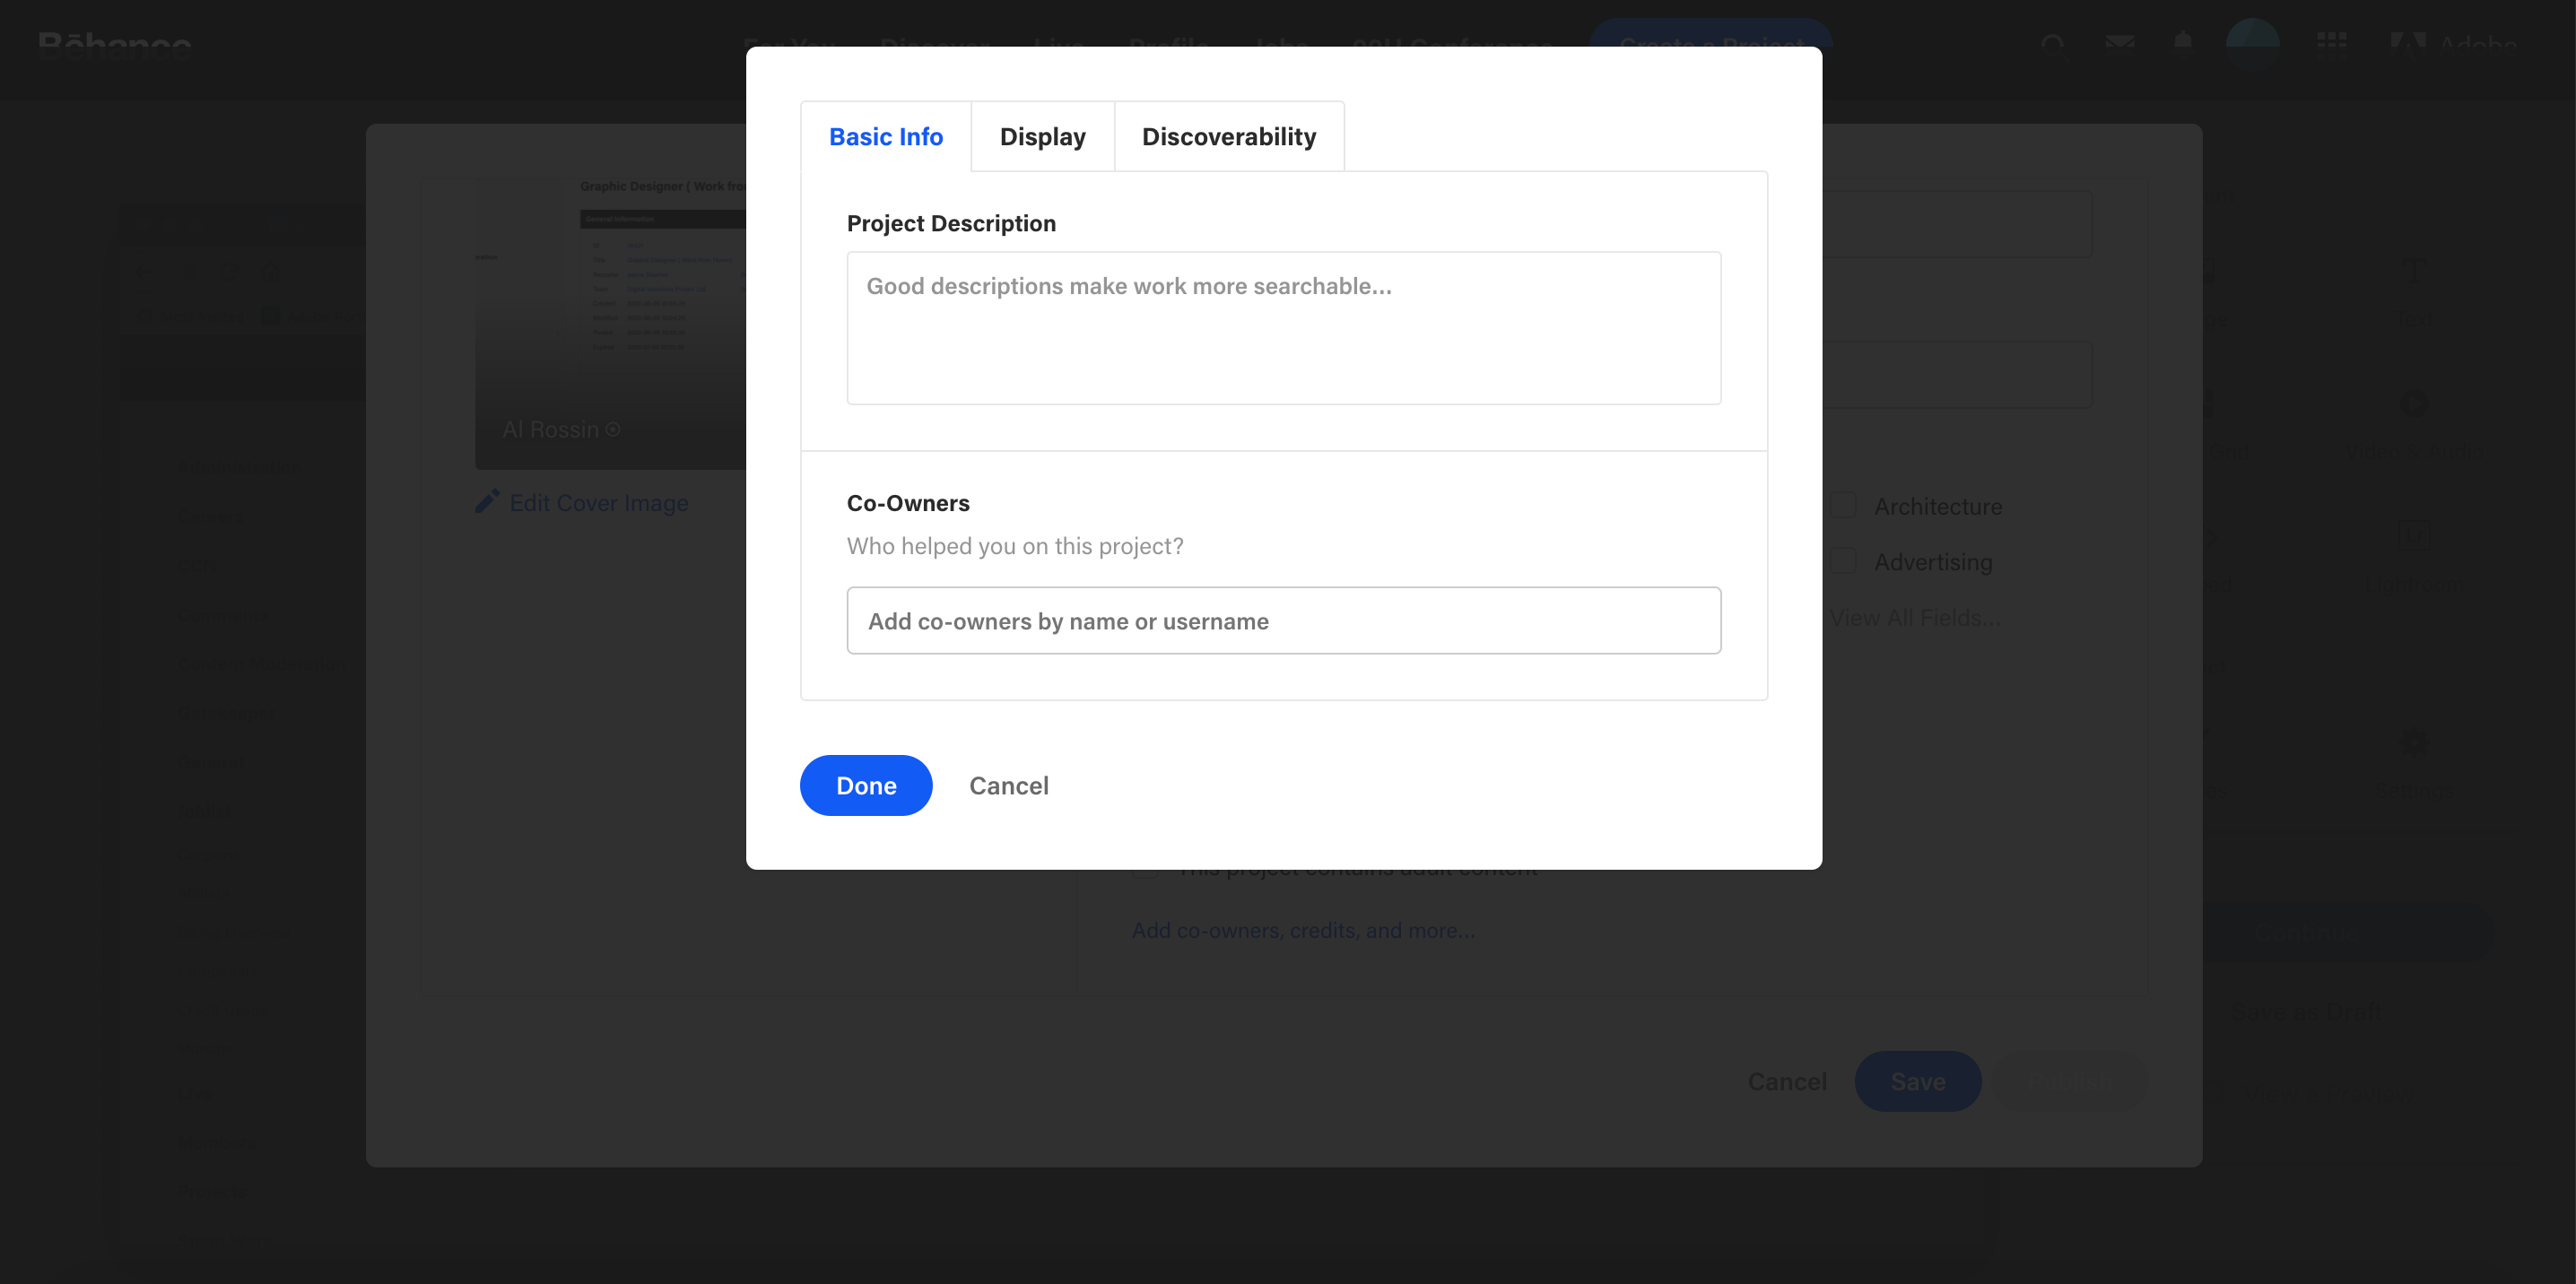
Clicking Co-owners, Credits, and More will open a new modal where you can add a Project Description, Project Co-Owners, Display Options and other details.
